How can you find, correct, or remove file and program shortcuts that point to
incorrect or non-existent paths:

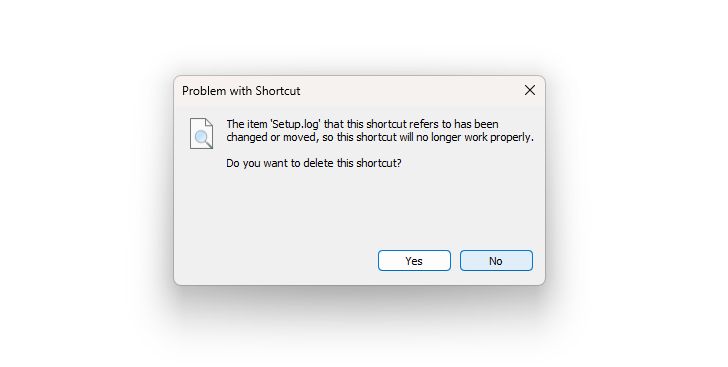
When performing various operations on the computer, such as updating the MS Windows operating system, installing or disconnecting additional hard drives, using external storage devices, moving or deleting files and programs, and changing directory structures, broken shortcuts may appear in the system. These shortcuts point to incorrect or non-existent paths to objects. When attempting to open such a shortcut, the operating system displays an error: 'Problem with Shortcut' and shows the message: 'The item that this shortcut refers to has been changed or moved, so this shortcut will no longer work properly. Do you want to delete this shortcut?'
To automatically find and remove all such broken shortcuts on the computer, it is recommended to use the ‘Scan Shortcuts’ tool of the WinTools.net program. This tool significantly simplifies and speeds up the process of finding broken shortcuts, allowing you to effectively utilize system resources.
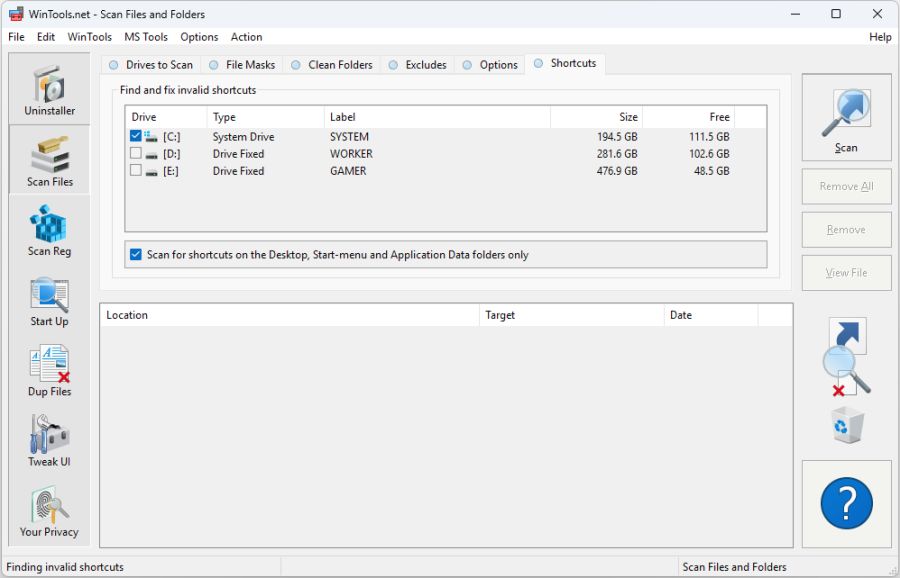
1. To find shortcuts that point to incorrect or non-existent paths, open the WinTools.net program. In the left menu, select the "Scan Files" tool and go to the 'Shortcuts' tab in the opened window. On the ‘Scan Shortcuts’ tool page, a list of your computer's disks or selected locations to be scanned will be displayed. Below, you will see a list of detected broken shortcuts. To the right of the lists are control buttons:
- Scan: This button starts the scanning process for the disks that are checked.
- Remove All: Clicking this button removes all detected broken shortcuts.
- Remove: This button allows you to remove only the checked shortcuts in the list.
- View File: This button allows you to view the shortcut properties and, if necessary, correct them.
2. When you click the ‘Scan’ button, the scanning process for the selected disks begins. The scan results are displayed in the list below, showing all detected broken shortcuts with their characteristics, such as location, target, and creation date. This data helps you better understand which shortcuts were found and what they point to.
It is important to note that each found shortcut can be examined in detail by selecting it and clicking the ‘View File’ button. This allows you to see the full properties of the shortcut and, if necessary, correct it. In this way, you can easily manage and optimize the shortcuts on your computer, improving its performance and stability.
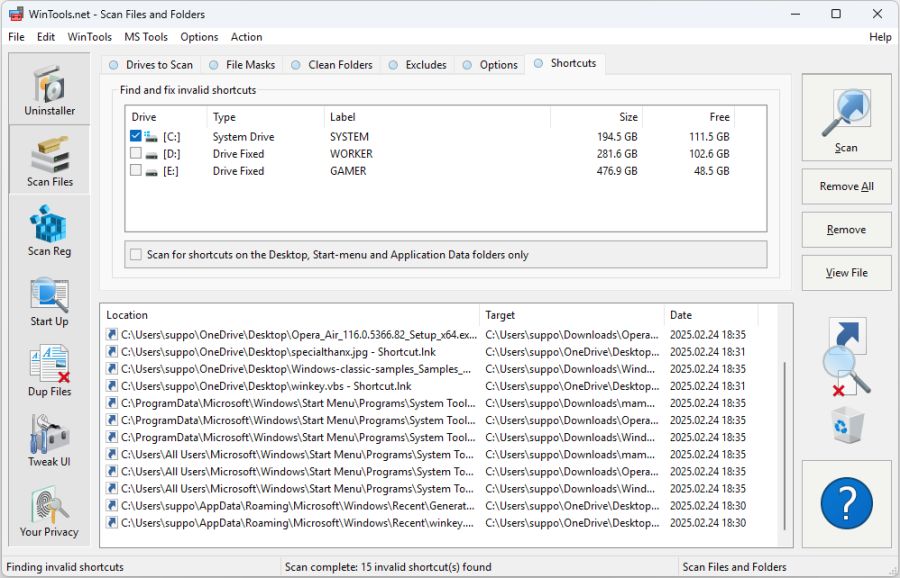
3. To remove all detected shortcuts, click the ‘Remove All’ button. If you want to delete only specific shortcuts, select them in the list and click the ‘Remove’ button. In this case, only the broken shortcuts you selected will be removed.
It is worth noting that deleted shortcuts do not disappear permanently, but are moved to the Recycle Bin. This provides additional protection, as in case of an error, you can always restore the deleted shortcuts from the MS Windows Recycle Bin. This ensures the security of your data and helps avoid unwanted consequences.